Tips for packing oddly shaped items for a long distance relocation
Odd shapes do not sit flat or stack well, so they tend to crack under pressure. That is why packing oddly shaped items for a long-distance relocation needs a plan that protects edges, stabilizes weight, and stops movement before loading. If you skip prep, small bumps can turn into chipped glass or bent frames; however, careful steps reduce risk and lead to fewer surprises on delivery day. Companies like Pro Movers Miami handle complex household items every day, and their teams use proven methods for long routes; you can apply the same ideas at home and keep control.
Gather the right packing supplies
Start with strong materials, since weak boxes crush under load and fail during stacking. Build a solid base with heavy-duty cardboard boxes in several sizes, or order moving boxes Miami suppliers provide, along with bubble wrap, foam sheets, packing paper, and corner and edge protectors. Include moving blankets, towels, rugs, stretch wrap, quality packing tape, and clear labels.
You can also opt for eco-friendly options like reusable wraps and recycled boxes to cut down on waste. Finally, match each material to the item’s weak points, because packing oddly shaped items for a long-distance relocation depends on tailored padding.
Next, add gloves, a utility knife, painter’s tape, and thick markers. Include zip-top bags, cable ties, and desiccant packs. Keep a tape gun near each work zone. Pre-build a few small and medium boxes. Then stage padding near the door. Finally, keep a “do not pack” bin for tools and labels.
If you’re moving across state lines, it’s important to check agricultural regulations before transporting certain materials, since some states restrict plants, untreated wood, or natural fibers.

Build a room-by-room packing kit (what to include and how to use it)
To stay organized and efficient, build a dedicated room-by-room packing kit with all the essentials you’ll need.
What to include in a kit for each active room:
- Tape gun
- Two markers
- Utility knife
- Small box of corner guards
- Bubble sleeves
- Foam sheets
- Packing paper
Extra essentials to include:
- Ten zip-top bags for hardware
- Colored dots for room codes
- Desiccant packs in a side pouch
- Short checklist
- Measuring tape
How to use the kit:
- Pad fragile zones and set up a staging table
- Pack one item at a time
- Log each box number on your checklist
- Roll the kit to the next room and repeat
This small system keeps supplies at hand and reduces wasted steps during packing oddly shaped items for a long distance relocation.
Disassemble when possible
Large or irregular pieces travel more safely in parts, so remove legs, shelves, and detachable hardware first. Then, bag screws, bolts, and brackets, label the bag, and tape it to the main piece.
Next, save manuals or print pages, slide them into a sleeve, and place them in a simple “setup” folder; also, shoot quick photos before you start, then rebuild faster at the destination.
Our residential movers in Miami are available for packing and reassembly, so you can focus on timing.
Add colored tape to mark the left and right parts. Mark arrows on hidden faces. Wrap threads with caps or painter’s tape. Use small boxes for knobs and casters.
Label each bag with the box number and item name. Then bond the paired parts together with stretch wrap. Finally, protect exposed dowels with short cardboard tubes.
Create custom boxes and supports
When standard cartons don’t work, you’ll need to adapt or build supports that fit the item and protect it during transport.
Adapt cartons for odd shapes:
- Telescope two boxes to extend length (slide one over the other and tape all seams)
- Add cardboard inserts to brace weak spots
- Cut U-shaped cradles for round parts
- Create ribs to prevent side pressure
For heavy art, stone, or heirlooms:
- Use a foam-lined crate
- Center weight inside the container
- Keep the core off the walls to avoid corner blows and edge cracks
Add protective reinforcements:
- Corner protectors and honeycomb pads for long spans
- Pool noodles as safe edge sleeves
- Rigid base under long items
- Soft straps tied to internal anchors
- Backfill voids with dense paper bundles
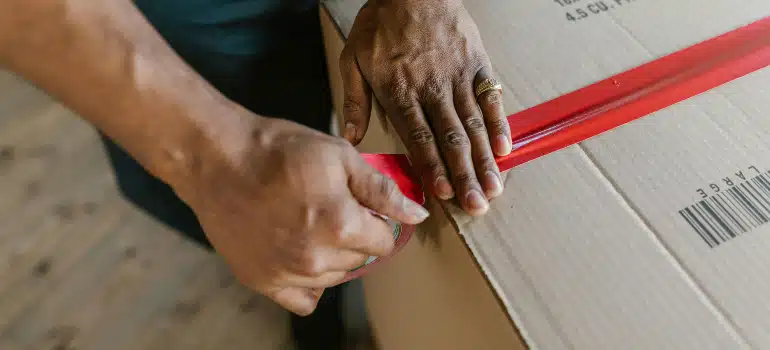
- Reinforce all outer seams with filament tape
When a crate is the safer choice (simple rules that help you decide)
Choose a crate when the weight is high or the surfaces are fragile. First, check the size. Anything oversize with weak spans benefits from rigid walls. Next, assess protrusions. Antlers, carved edges, or stone lips need rigid clearance.
Then review the value and replacement risk. Art, heirlooms, and rare parts call for top protection. Add foam panels on all sides. Install cleats to hold the piece above the base. Strap the item to those cleats. Leave an air gap on every face. Finally, seal the lid and mark all sides. These steps turn a single hit into a harmless bounce.
Wrapping and padding techniques
Proper layering and padding create the first line of defense for fragile items during a move.
Build layers in order:
- Start with packing paper for surface protection
- Add bubble wrap for impact control
- Finish with a moving blanket for abrasion resistance
- Tape each layer to itself, never to the item’s finish
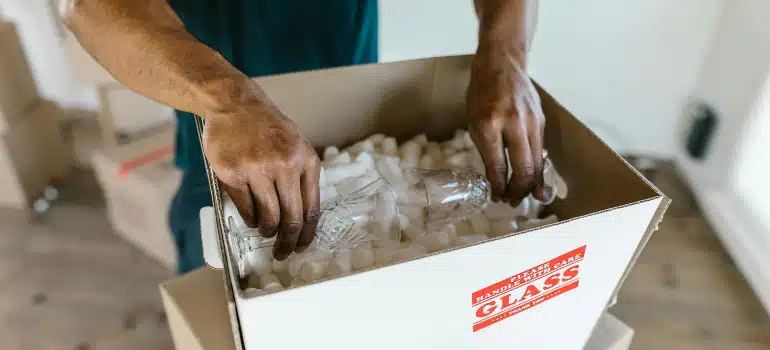
Protect glass and fragile surfaces:
- Add foam corners to glass edges
- Place an “X” tape across the glass faces to limit crack spread
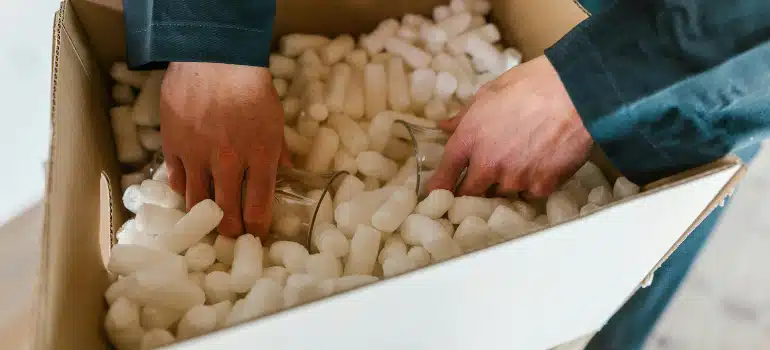
- Fill all voids with crumpled paper or towels to prevent shifting
- Double-box fragile pieces with at least two inches of cushion on every side for long-distance moves
Specialty materials for added safety:
- Use glassine for art and glossy surfaces
- Place Tyvek sheets when moisture is a concern
- Bag ceramics in poly before wrapping
- Insert desiccants inside the inner box
- Create paper pillars to support lids and spans
Then run a shake test with both hands. If you feel motion, add pads. Keep each box under a safe lift weight. At the end, seal and label all sides.

Packing different types of oddly shaped items
Different shapes fail in different ways. First, find the weak points and contact points. Then match wraps and supports those risks. While packing oddly shaped items for a long distance relocation, plan for drops, crush pressure, and constant vibration. Finally, test each box with a gentle shake. Fix any motion before you load.
Fragile decor (vases, sculptures, figurines)
Stuff hollow spaces with crumpled paper or soft foam, pad stems and protrusions first, wrap the full piece, place it upright on a firm base pad, and double-box high-value decor for long routes.
Add acid-free tissue on glossy glazes. Wrap stems with foam, then secure with tape to itself. Avoid tape on the finish. Place silica gel packs in humid regions. Add arrows and “Fragile” on two sides and the top. Keep weight off the piece during loading. Finally, isolate decor from tools and metal parts.
Sports equipment (bikes, surfboards, skis)
Remove pedals, wheels, or fins, cap sharp ends, use foam sleeves on tubes and rails, add corner bumpers for boards, fill nose and tail gaps, and secure the load so nothing rattles. For bikes, loosen the handlebars and turn them flat. Install dropout spacers to protect forks.
Bag bolts and quick releases. For boards, add rail guards from cut cardboard. Tie ski tips and pad bindings. Slightly deflate balls. Then pack the sets together, so the parts do not shift.
Musical instruments (guitars, violins, drums)
Use a hard case, pad headstock angles and bridges, protect drum rims, nest smaller shells, add a base board in the carton, and confirm zero movement with a gentle shake. Loosen strings one turn to reduce stress. Support the neck with a firm cradle.
Fill case gaps with soft foam. Separate cymbals with cardboard disks. Bag small hardware. Place the cased instrument inside a box with two inches of cushion. Mark “Top Load Only” on all faces. Keep the case away from heaters and cold floors.
Artwork and mirrors (specialty boxes, foam corners)
Use a mirror box with foam corners, face the glass inward when you pair frames, place cardboard between pieces, print “Do not lay flat” on both sides, and load frames on edge. Cover art with glassine, then add bubble wrap.
Tape an “X” or “H” across the glass. Add rigid sheets on both sides. Avoid loose peanuts near frames. Choose a two-part telescoping picture box for larger works. Crate oversize pieces. Finally, leave a finger-width gap all around for shock absorption.

Label clearly for safe handling
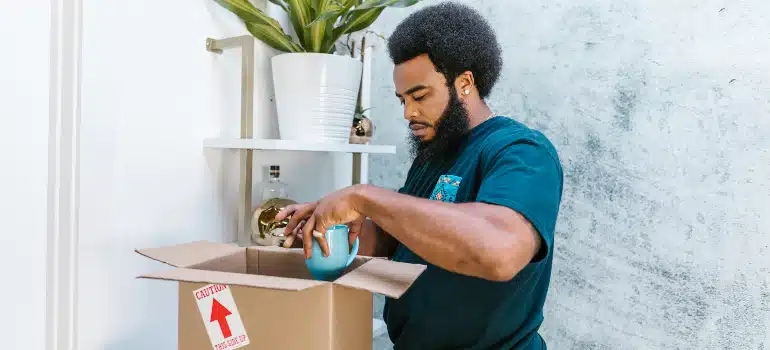
Clear labels guide every hand that touches the box, so mark “FRAGILE” on two sides and the top, add up arrows on all faces, and write a short item description on the label. Then color-code by room with simple dots on opposite corners and mark “Open First” on boxes you need on day one, while you add brief notes like “Do not stack,” “Keep upright,” or “Load last” to protect complex shapes during packing oddly shaped items for a long distance relocation and unloading.
Packing for storage vs. long distance moves
Storage needs differ from transport. Time adds pressure points and moisture risk. Use breathable wraps for wood and leather. Add desiccant packs in humid areas. Avoid stacking heavy boxes on irregular shelves.
Place long items on supports that spread the weight. Also, choose storage in Miami with climate control and clear access hours, and coordinate with local movers in Florida who can manage transport in and out of the unit. Match those features to your items. On a long route, shocks and vibration cause most harm, so immobilize every piece.
Reinforce corners and seams. Double-box delicate shapes. Run a shake test before loading. Treat any movement as a fix-now problem during packing oddly shaped items for a long distance relocation.

Pro mover tips for long distance relocations
First, avoid overpacking. Bulging flaps fail under stack pressure. Group small odd items with stretch wrap. Build one stable bundle. Remove loose parts before boxing. Use snug boxes with void fill. Consider hiring route-ready crews, such as long distance movers in Miami, to balance stacks and isolate fragile zones. They can help you protect corners and block crush points. Mirror these habits at home. Keep weight low and centered. Add counter-padding to correct any tilt.
For rare or high-value pieces, consider specialty handling. Teams like white glove movers in Miami bring custom crates and museum-grade wraps. They add edge guards, foam corners, and precise loading plans. These teams know how to build foam cavities that lock delicate shapes.
They apply vapor barriers for wood and leather. Shock and tilt indicators track handling during transit. Crews photograph the condition before wrapping and after the crate is sealed. They pad elevators and doorways and lay floor runners.
Climate-controlled trucks protect finishes from heat and humidity. Crews strap art upright to rigid walls with soft ties. For extremely fragile work, they double-box and suspend the weight away from the edges.
Labels show orientation, center of gravity, and lift points. This attention reduces the risk of impact during packing oddly shaped items for a long distance relocation.
Final checklist before moving day
Do one final pass before loading. This quick list prevents common mistakes. It also supports packing oddly shaped items for a long distance relocation.
- Inventory all odd items with photos and notes
- Confirm disassembly and labeled hardware bags
- Check padding on edges, corners, and protrusions
- Run a shake test; fix any internal movement
- Seal every seam; reinforce box bottoms and tops
- Add room colors, arrows, and clear handling notes
- Stage fragile boxes near the load point
- Keep documents, chargers, and a basic tool kit with you
- Carry small high-value or sentimental pieces yourself
- Reserve a safe load path with no trip hazards
Print this list and keep a pen on top. Check items as you prepare each room. Finally, load fragile pieces last and protect clear walking lanes.

Pack odd shapes with a simple plan
You can protect complex shapes with a simple plan, so use the right supplies, disassemble smart, build supports where needed, label clearly, and load with care; follow these steps and reduce risk across the route, so packing oddly shaped items for a long distance relocation becomes a controlled process instead of guesswork, and if time runs tight, choose targeted help for the toughest pieces so you stay in charge and your items arrive ready to unpack.
