4 Common issues when moving antique furniture long distance
One small crack can change the value of an antique piece. That is why long-distance transport needs more than blankets and a truck. Age, ...
License Number: US DOT 2855891
MR 01221
IM 2721
MC 956262

One of the most often requested questions during a transfer is “how do you move an aquarium?” This is one of the most typical inquiries asked. Answer: with great care, of course. It needs forethought and the correct equipment to do this. Moving a fish aquarium could appear to be a difficult task. Don’t be concerned. Our white glove movers have figured out what to do.
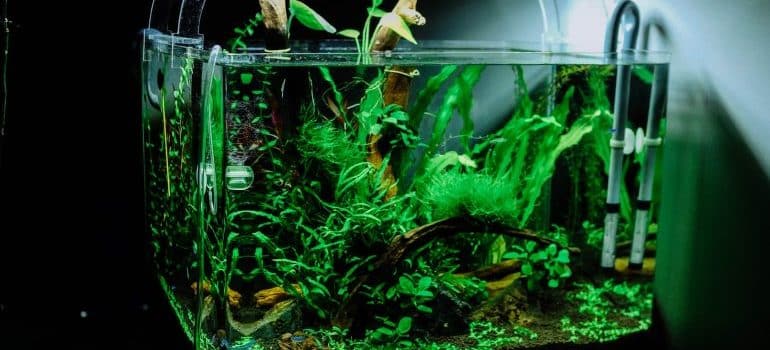
Moving a fish aquarium takes time, so make sure you prepare ahead of time. You definitely don’t want to relocate a fish tank that is completely filled. In order to relocate your tank, you’ll need to empty it, carefully move your fish, then re-install the tank in your new home.
Prepare all of the essential supplies before you even begin working on the tank. You’ll need a fish net, a siphon hose, five-gallon buckets with lids, and packaging items to complete this project successfully. Make a rough estimate of the number of buckets you’ll need to transport all of the fish and live plants. Fill each bucket three-quarters full of water using the siphon line to collect water already in the tank. Make sure there is enough room at the top of each bucket for air. If you have trouble moving the tank yourself, don’t be afraid to contact movers Pinecrest Fl. They can move it safely for you in no time.
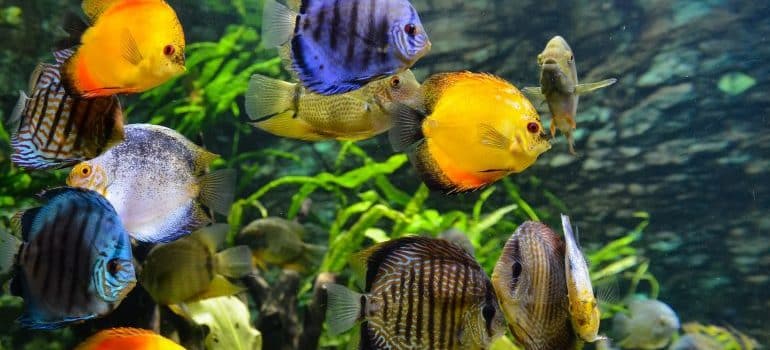
Don’t feed your fish for at least 24 hours after you’ve moved. This will assist you in keeping your fish’s surroundings clean while in transit. Use your fish net to catch fish, and you may put up to 10 fish in each bucket, depending on the size of the fish you capture. Tape the top of each bucket to keep it from falling over.
Following that, fill more buckets with tank water and place them in the tank to accommodate any live plants or coral that may be there. Buckets should be closed and sealed. Transporting all living things in a temperature-controlled setting, such as the passenger cab of your own car, is highly recommended. Never put your fish or plants in the trunk of your car or the back of a moving truck for transfer. They will die.
You’re ready to go on to the next stage now that you’ve removed all live organisms from the tank. Remove the gravel from the bottom of the tank, but don’t rinse it off with water. The bacteria that live on those rocks are critical to keeping a healthy environment in your aquarium. Unplug any heating and filtration systems that you may have and pack them neatly in their original packaging if you still have them. After that, box up all of the pebbles and ornamental tank things you have. Your tank is ready to be wrapped once it has been entirely depleted.
Ensure that the tank and the lid are wrapped individually. Wrap the lid in many layers of bubble wrap and bind it with tape to prevent it from opening. Fill the inside of a moving box with foam inserts and set the lid on top of it. To fill the tank, use a similar procedure. Fill the tank with foam inserts or blankets to make it more comfortable. Bubble wrap should be used to cushion the inside of the moving box, and the tank should be placed carefully within. Containers carrying the tank and lid should be labeled as delicate with arrows indicating which side should be up.
You should designate a specific area in your new house for your aquarium. Install a robust aquarium stand and then begin the process of reassembling your tank from the bottom up. Carefully remove the packaging of your tank and lid, checking each for minor fractures. You should now set your tank on the stand and fill it with the gravel that you removed from your prior site after you are certain that it is in great working order. Fill the tank as much as you can with water from the old tank, and then drain it. Filters should be installed and activated.
In the event that you add any tap water to the tank, make certain that it’s the same temperature as the water currently in the tank and that you use a chlorine remover to eliminate the chlorine. Remove the fish from the tank and let the tank water warm up to room temperature before putting them back in. If you don’t know how to manage your tank temperature, head on to this link.
Start by adding a few fish at a time to the aquarium to test the water quality. If you find fish laying at the bottom of the tank or remaining at the top of the tank for an extended period of time, remove the fish from the tank and re-test the water’s temperature and chemistry before re-introducing the fish to the tank. After all of the fish have been placed in the tank, the heating system may be secured and turned on. Install the lid with care, making sure to cover any holes that may exist.
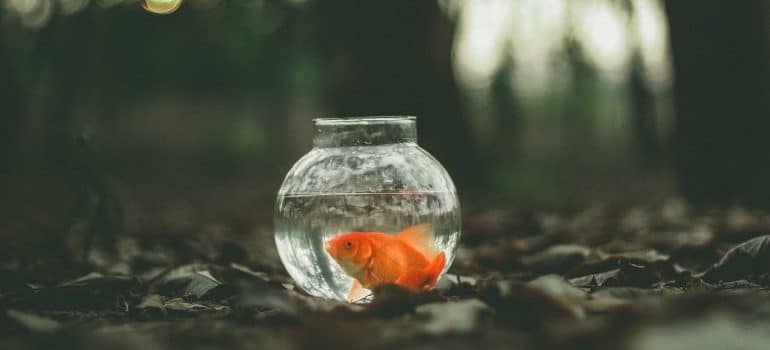
Moving an aquarium takes some time, but it is simple if you follow a set strategy. Reliable movers, like movers Miami, have relocated fish bowls a small distance and hauled aquariums across the country multiple times. Their skilled movers will transport your tank and supplies safely to your new home, allowing you to effectively re-establish your fish habitat at your new location.